Mounting sensors on perfboard
21 June 2026In an earlier blog post, I installed a CO2 sensor to an ESP32 using some jumper wires. This works, but is very fragile. You have to be careful when touching the setup as jumper wires are far from a strong way to connect components (and that's kind of the point).
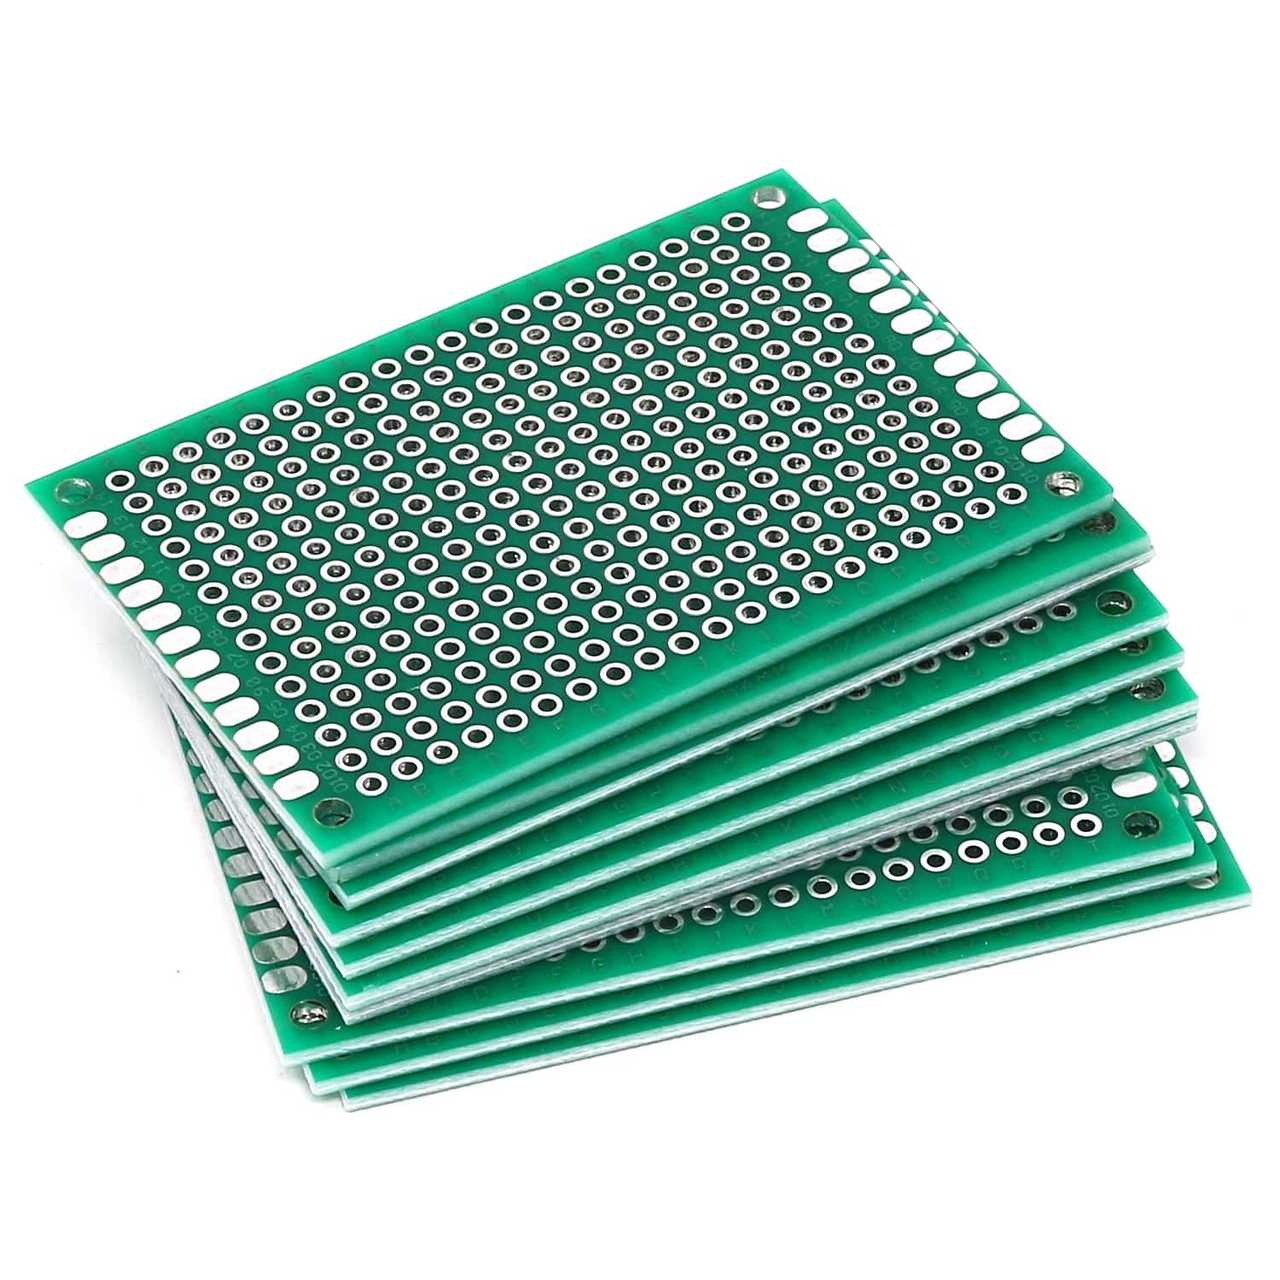
I'd seen people using perfboard online and imagined that'd be a suitable fit for this project. Perfboard isn't difficult to come by and is reasonably cheap. Perfboard allows you to solder wires or components directly onto the copper pads on the board. In hindsight, stripboard would have been better suited for my application.
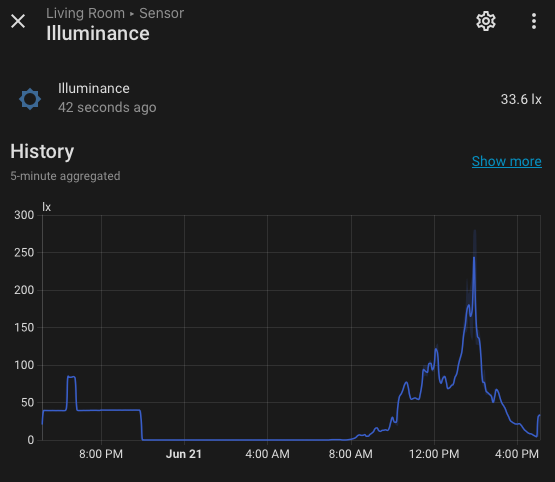
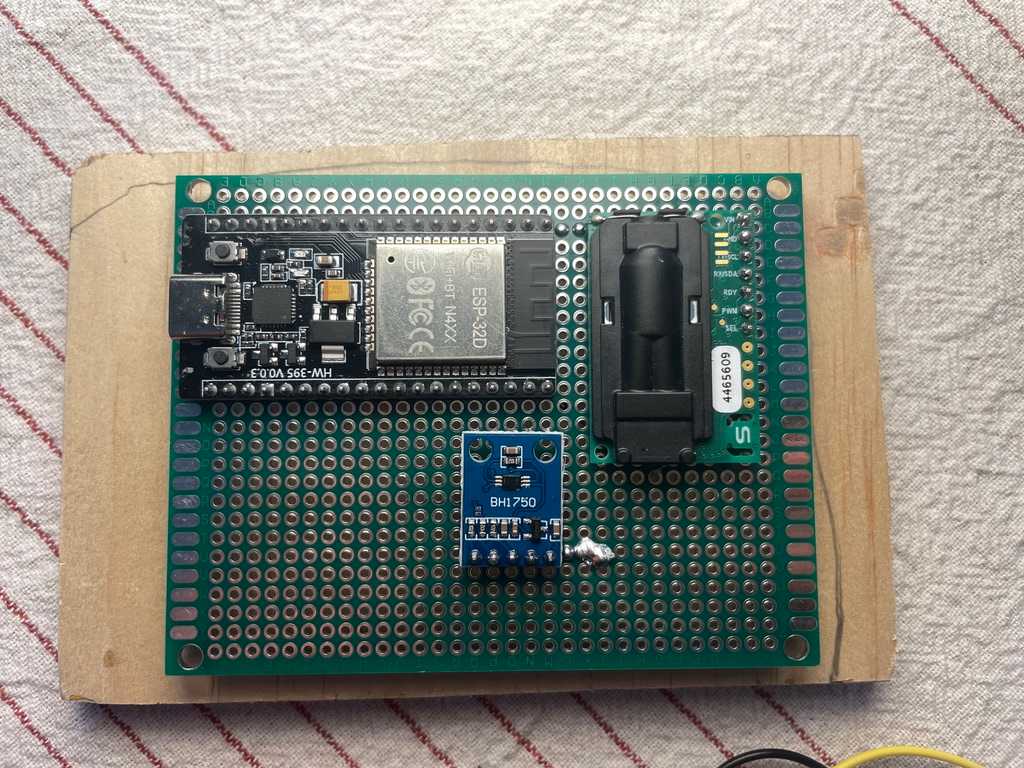
When ordering the perfboard, I decided to order a few new sensors as well. I've previously worked with a BME280 and BH1750, so decided to go with these. The BME280 is a barometric pressure, temperature and humidity sensor. The BH1750 measures ambient light. While both of these sensors don't necessarily provide any data that is useful to me, it's cool to look at the data regardless. The barometric pressure could be used for forecasting weather changes. A practical usecase for the BH1750 could be to set up an automation that automatically turns on the lights when the illumination falls below a threshold.
Before starting to solder, I decided to watch a few Youtube videos on how to solder components onto perfboard. They made it look easy to create solder joints that span multiple copper pads. And you know when someone makes something look easy, it's actually very difficult.
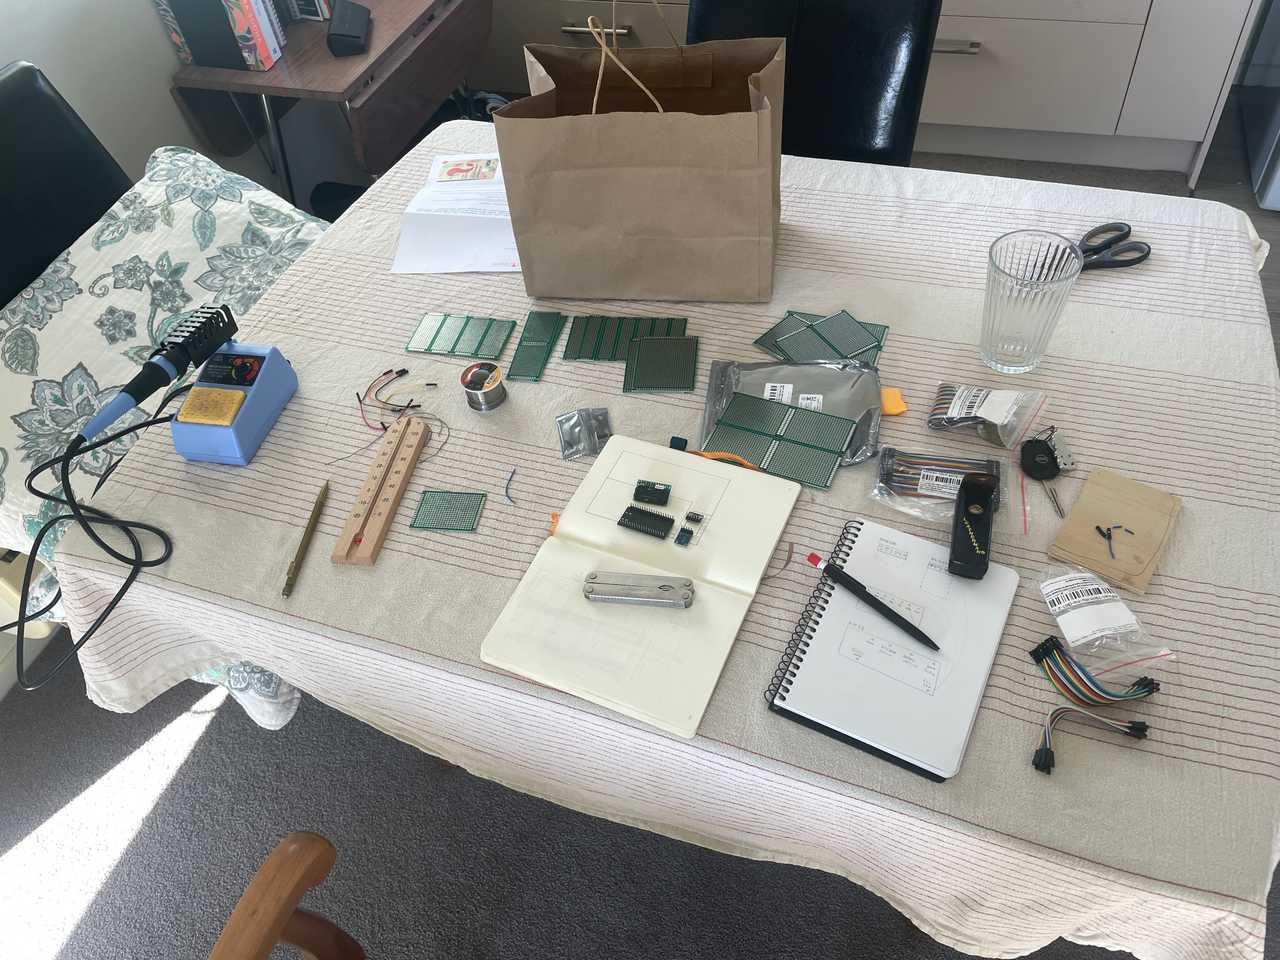
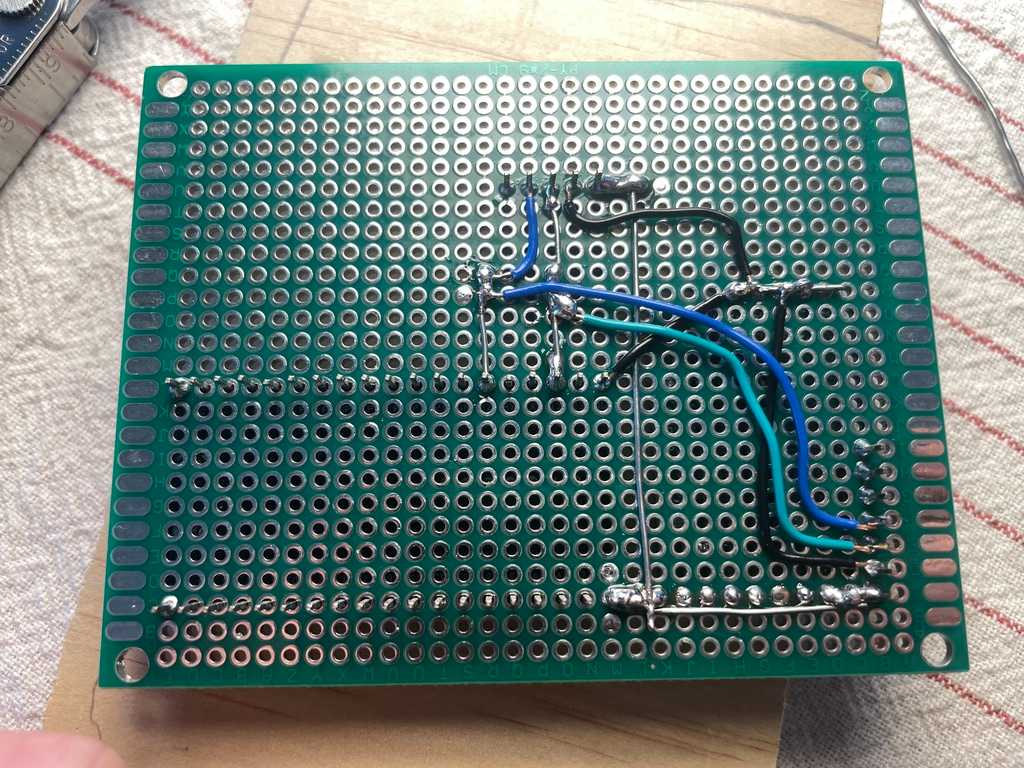
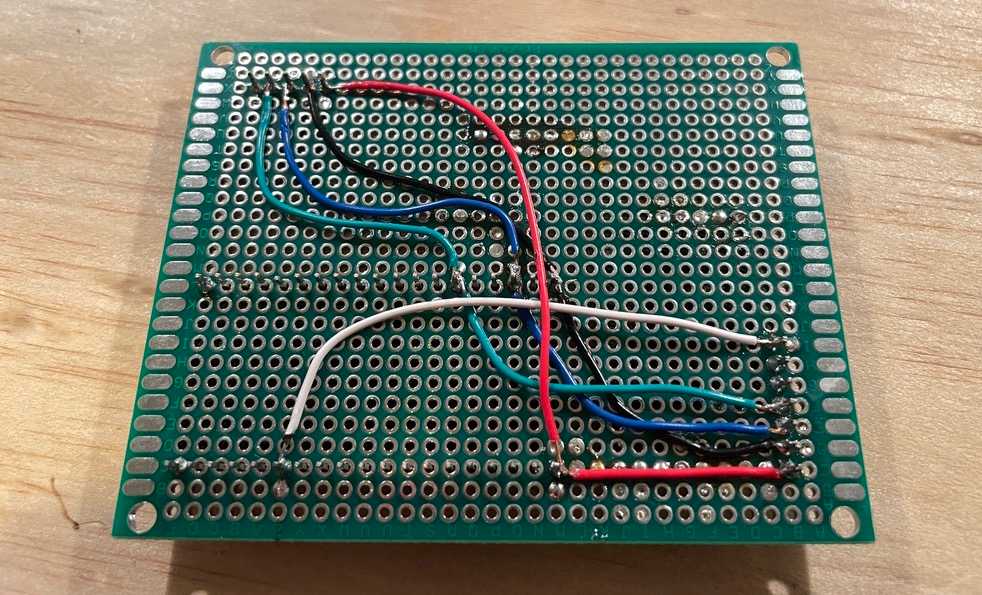
After arranging the components on the board, I got to work. I very quickly realised creating sturdy and neat solder connections that spanned multiple pads wasn't trivial in the slightest and took a trip to my local electronics store to buy some cables. This made my life a little bit easier, but after soldering everything into place using little islands for things like ground and 3V, I took a step back in horror to look at the damage I had done. I decided to leave things as they were and hooked the ESP32 up to power.
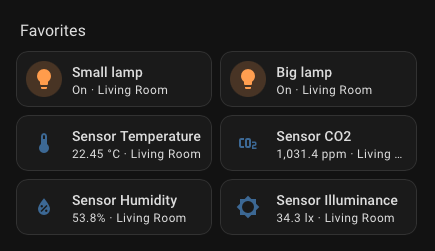
And wouldn't you know it, it didn't work. Of course it didn't. Time for another trip to the electronics shop; this time for a multimeter. With the multimeter, I found my mistake and after resoldering some of the joints, the sensor was displaying its readings on my Home Asssistant dashboard. Great success!
Or so I thought. Sooner rather than later, Home Assistant lost connection to the sensor setup. Replugging the setup in to a power source seemed to do the trick, but it always started failing after anywhere between a minute and a day. Most likely, my shoddy solder job was the culprit.
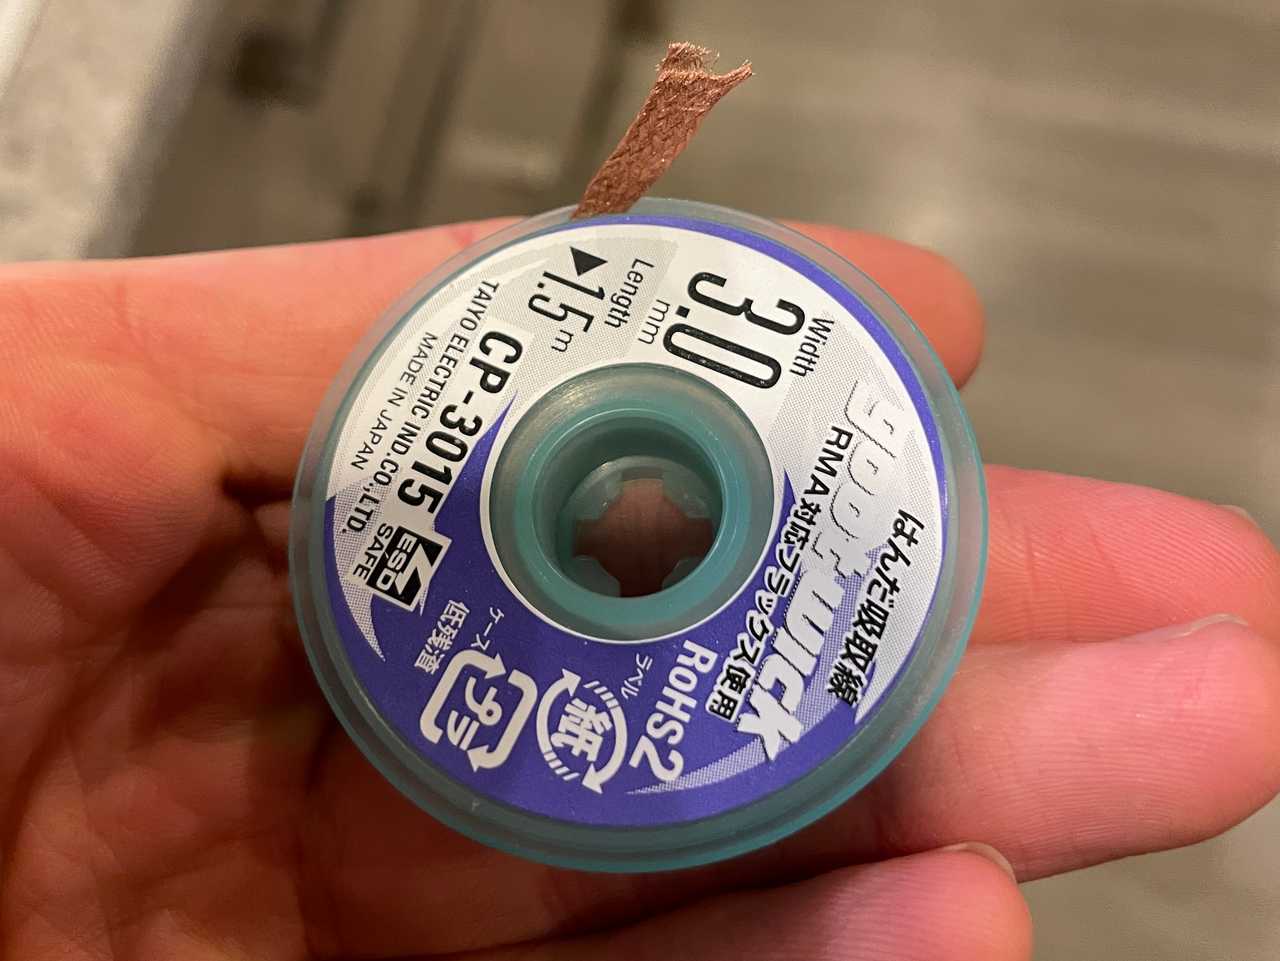
After quite a bit of frustration, I decided I should desolder the whole thing and start over. I discovered 'solder wick' and decided to try it out. The wick consists of braided copper wire with a small amount of flux and it essentially sucks up the solder from joints when heated. I found a great video on using the stuff.
After desoldering the components, I mounted the sensors in a different place to avoid using the old and potentially damaged solder pads I was using. This attempt, I tried to keep the amount of wiring to a minimum and mount the wires coming from the sensors directly to the ESP32 rather than creating solder islands. This was a game changer as everything worked first try!
Hooking the sensor up to Home Assistant was unexpectedly simple this time around. During my first ESP32 adventure, I had a lot of trouble flashing firmware to the device. However, this time, my server wielded the power of Home Assistant OS (discussed in a previous blog post).
I discovered ESPHome Device Builder for Home Assistant and this made my life very easy. After physically hooking up the ESP32 to the server and allowing the HAOS VM access to the USB device through Proxmox, I was able to install the new YAML configuration without too many issues.